How to Run a Successful Art Exhibition with Your Students
19 September 2025
So, you’ve got a group of creative, paint-splattered dreamers staring back at you, and you’re wondering how to channel that youthful energy into something tangible. Maybe you’re an art teacher, a community leader, or just a passionate soul with a mission to showcase student art to the world.
Well, you’re in the right place.
Running an art exhibition with your students is equal parts magic and madness. It can feel like herding cats one minute and orchestrating a symphony the next. But when it all comes together? Oh, it’s electric. The beaming smiles, the proud glances from parents, the quiet moments of admiration from visitors—it’s pure gold.
Let’s walk through how you can pull off a jaw-droppingly successful art exhibition with your students, step-by-step. Brushes ready? Let’s paint this picture.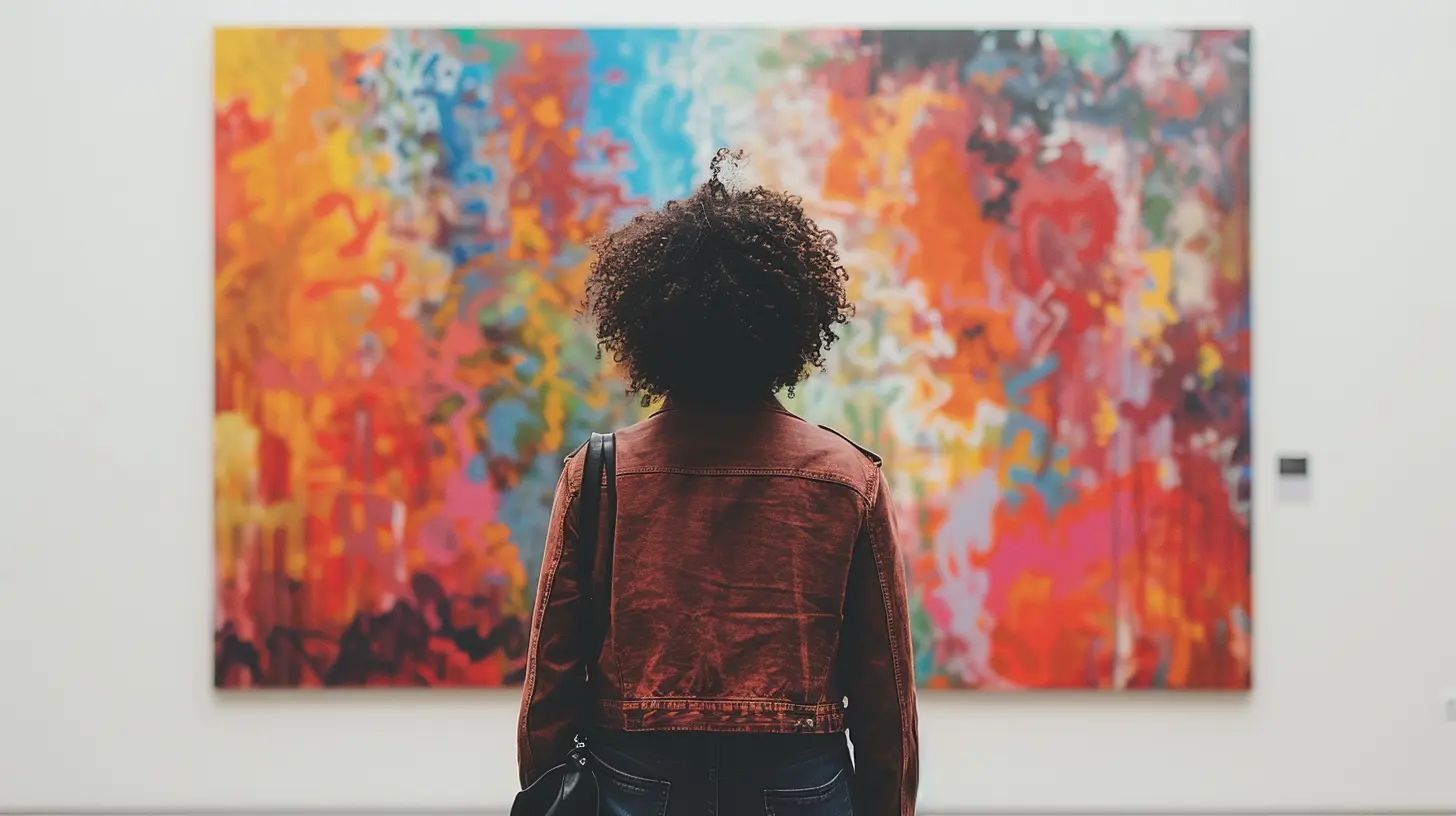
🎨 Why Host a Student Art Exhibition?
Before we dig into the nitty-gritty details, let’s look at the “why.” Why bother going through all the work of setting up an exhibition?Because art matters.
And more importantly—their art matters.
Hosting an exhibition gives your students a platform. It’s their voice on canvas. Their story in strokes. Their world through color and contrast. It teaches them that what they create has value, and that sharing it is part of the artistic journey.
Plus, it builds confidence, strengthens community ties, and reminds you (and them) why creativity is still the secret sauce we all crave.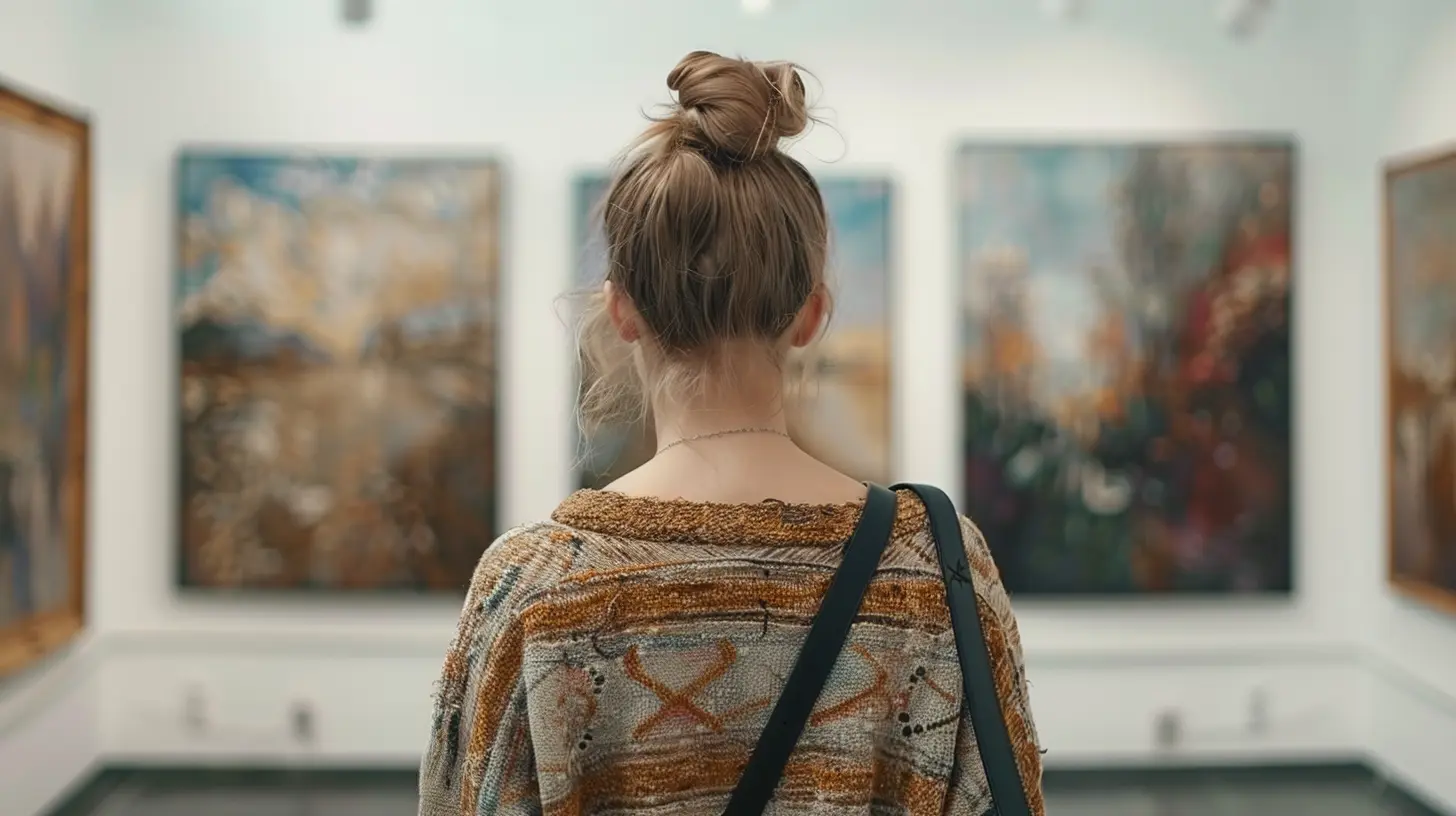
🧠 Step 1: Set the Vision and Theme
Like any great masterpiece, a good plan starts with a vision. What do you want this exhibition to say? What’s the message, the vibe, the aesthetic?Ask yourself—and your students:
- What do we want people to feel when they walk through the space?
- Should this be a free-for-all of styles, or should we center it around a common theme?
- Are we tackling social issues, celebrating cultures, or just letting the imagination go wild?
Choosing a theme helps guide the creative process and makes the exhibition feel cohesive. Some popular student-friendly themes include:
- "Through My Eyes"
- "Dreamscapes and Daydreams"
- "The World Around Us"
- "Voices Unheard"
- "Nature, Nurture, and Everything In Between"
Once you've got your theme, you’ve set the tone. You’ve just framed the gallery in their minds.
🗓️ Step 2: Plan Ahead – Like, Way Ahead
Deadlines are your best friend. Seriously. Without them, you’ll be hanging paintings the night before the exhibit with scotch tape and a prayer. Not ideal.Create a timeline and stick to it.
Here’s your planning cheat sheet:
2–3 Months Before
- Lock in your exhibition date- Book the venue (school hall, community center, local gallery)
- Decide on the theme
- Tell your students and get them jazzed
1 Month Before
- Start collecting completed artworks- Organize framing or mounting
- Plan your layout (Where’s the entrance? Where’s the spotlight piece?)
- Design and print promotional materials
2 Weeks Before
- Finalize the list of artworks and students- Send out invitations
- Prep any speeches or performances (student poets? student musicians?)
- Collect artist bios and descriptions
1 Week Before
- Set up your space (or at least start if you can)- Create labels and tags for each piece
- Do a last-minute promo push on social media or school channels

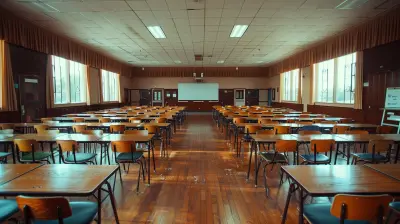
🖼️ Step 3: Curate Like a Pro
Think of yourself as the DJ of the art world. Your job isn’t just to hang art randomly—it’s to create a vibe. A mood. A visual story.Grouping similar pieces together can create flow. High-contrast art next to serene pastels? That can make people stop and look twice.
Here’s how you pull it off:
- Mix big, bold works with smaller intimate ones
- Don’t overload walls—let the work breathe
- Use consistent frames or mounts for a professional look (even cardboard makes a difference if used universally)
- Leave space for artist statements—they matter as much as the art
Tip: Walk through the space with fresh eyes before setting it up. Imagine how a visitor would feel stepping in. Does it feel balanced? Exciting? Emotionally engaging?
✂️ Step 4: Get Creative with Promotion
You’ve got an amazing event in the works. Now let the world know!This is where you can let your students shine, too. Get them involved in making posters, writing social media posts, or even creating teaser videos. It’s great exposure and they’ll love seeing their work hyped up.
Ways to promote your student art exhibition:
- Posters around school and the local community- School email newsletters
- Local newspaper or community bulletin boards
- Facebook events or Instagram posts
- Short student-made videos for TikTok or YouTube
- Personal invitations to local artists, press, or school board members
And don’t forget to create a catchy name for the exhibition. Something that sticks. Something that raises eyebrows and curiosity.
🍪 Step 5: Create a Memorable Opening Night
All the painted hands and glitter explosions have led to this: opening night.This is your ribbon-cutting moment, your red carpet affair. And no, you don’t need tuxedos and string quartets. But you do need heart.
Make it a celebration:
- Play music (live if possible)
- Serve light snacks and drinks (cookies and juice work wonders)
- Let students give mini gallery tours to their families
- Have a photo booth with props and an art-themed backdrop
- Give short speeches—keep them sweet and filled with gratitude
- Create a guestbook for comments and feedback
Capture the moment. Take photos. Snap candid smiles. Film clips of proud parents. This night will live in memories long after the paint dries.
📷 Step 6: Document Everything
We live in a content-driven world. Use that to your advantage.Document every step of the process:
- Behind-the-scenes videos of students working
- Interviews with young artists about their pieces
- Time-lapse of the exhibit setup
- Student reflections after the exhibit wraps
Post it across your platforms and save it for next year. Not only is it amazing PR—it’s proof of growth. It’s a time capsule you're creating.
Bonus idea: make an online version of the exhibit with photos and captions. This makes the students’ work accessible to distant family members and looks great on digital portfolios.
👏 Celebrate the Artists
This isn’t just about hanging pretty pictures. It’s about honoring imagination.Make sure your students feel seen. Whether it’s a certificate, a small take-home copy of their displayed work, or a simple heartfelt compliment—recognition matters.
Encourage students to reflect on what they learned, how it felt to share their work, and what they might create next.
You’re not just curating an exhibit. You’re cultivating confidence.
🔁 Reflect and Repeat
After the applause and clean-up, take a moment to reflect.What went well? What could be smoother next time? Ask your students for feedback—they’ll have opinions, for sure!
Keep notes. Save your flyers, layout sketches, and planning docs. This thing? It gets easier over time. Like a painter refining their brushstroke, your exhibition skills will only sharpen over time.
And when next year rolls around? You’ll be ready. And so will your next group of budding artists.
🎯 Final Thoughts
Running a student art exhibition is no small feat. It’ll take organizing, encouraging, last-minute fixes, and probably a fair amount of glitter in your hair. But the payoff? It's beyond worth it.You’re not just putting on a show. You’re giving young artists a stage. You’re teaching them their voice matters. And you’re helping the world catch a glimpse of the beauty they carry inside.
So go ahead. Make space for their stories. Frame their feelings. Light up their worlds.
And when the crowd walks out, heads buzzing, hearts full—just know... you made art with them. And that’s a masterpiece in itself.
all images in this post were generated using AI tools
Category:
Art EducationAuthor:

Olivia Lewis
Discussion
rate this article
1 comments
Patrick Wagner
This article offers valuable insights on organizing a student art exhibition. It emphasizes planning, collaboration, and creativity, ensuring a rewarding experience for both students and attendees. A must-read for educators!
September 27, 2025 at 3:55 AM
Olivia Lewis
Thank you for your kind words! I'm glad you found the article helpful for planning a successful student art exhibition.