Teaching Perspective Drawing: A Step-by-Step Approach
9 June 2025
Ever tried drawing a room and ended up with a picture that looks like it came straight from a funhouse mirror? We’ve all been there. Perspective drawing can feel like trying to solve a Rubik’s Cube—blindfolded. But here’s the good news: It doesn’t have to be that hard.
Teaching perspective drawing, especially to beginners, can be both exciting and frustrating. The key is breaking it down into super manageable steps that build upon each other. Whether you’re an art teacher, a homeschooling parent, or someone guiding a budding artist, this guide will walk you through a powerful, step-by-step way to teach perspective drawing.
Let’s simplify the complex, bend those lines, and turn confusion into clarity.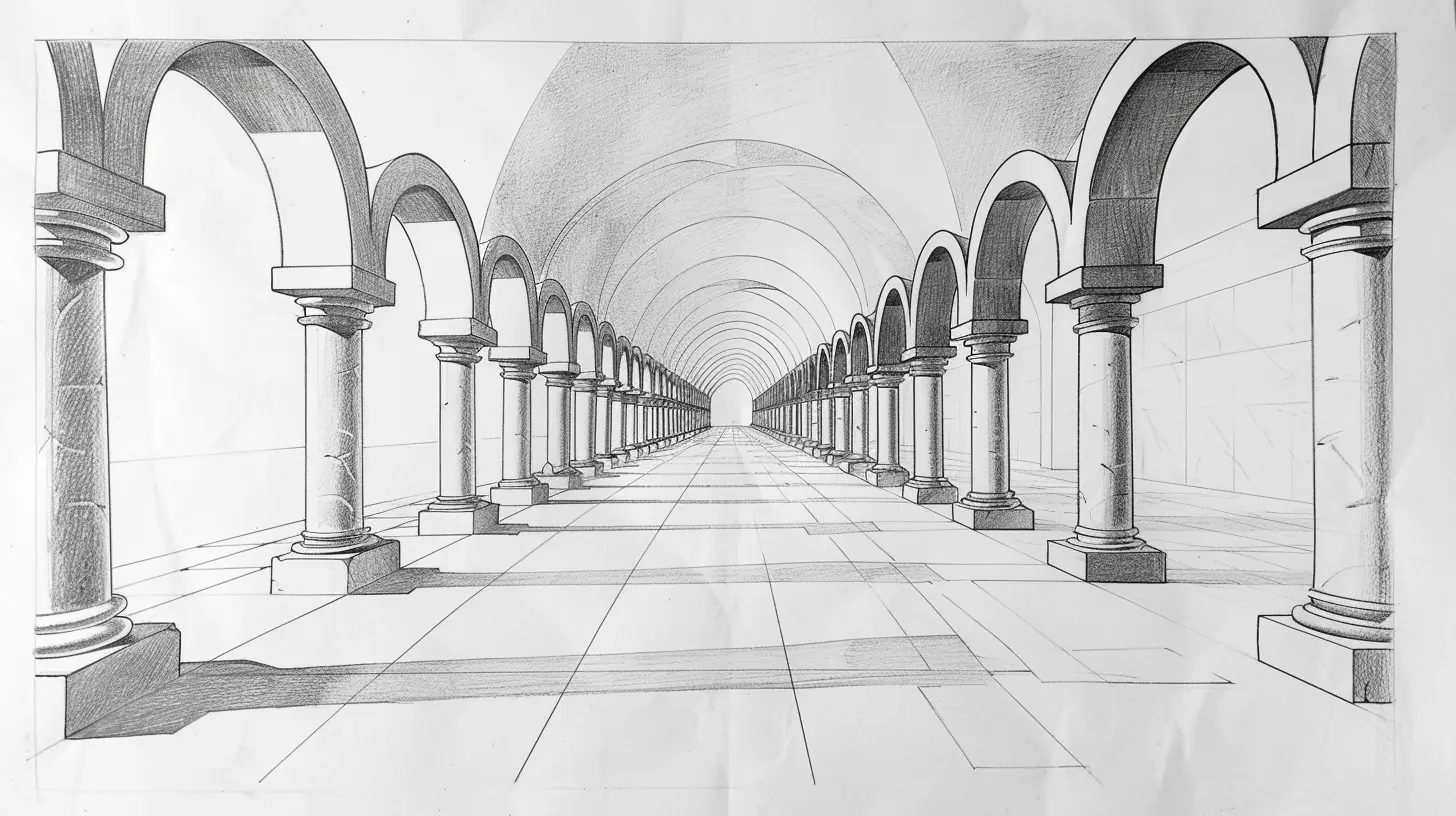
What is Perspective in Drawing, Anyway?
Before diving into the “how,” let’s tackle the “what.” Perspective in drawing is the technique used to represent three-dimensional objects on a two-dimensional surface (like paper) in a way that looks natural and realistic. It's how artists trick the eye into thinking that something is far away, tall, deep, or close.Ever looked down a straight road and noticed how the sides seem to meet at a point far away? That’s perspective in action!
There are a few different types of perspective, but the most common ones we’ll focus on are:
- One-point perspective
- Two-point perspective
- Three-point perspective
Now, let’s roll up our sleeves and get to work.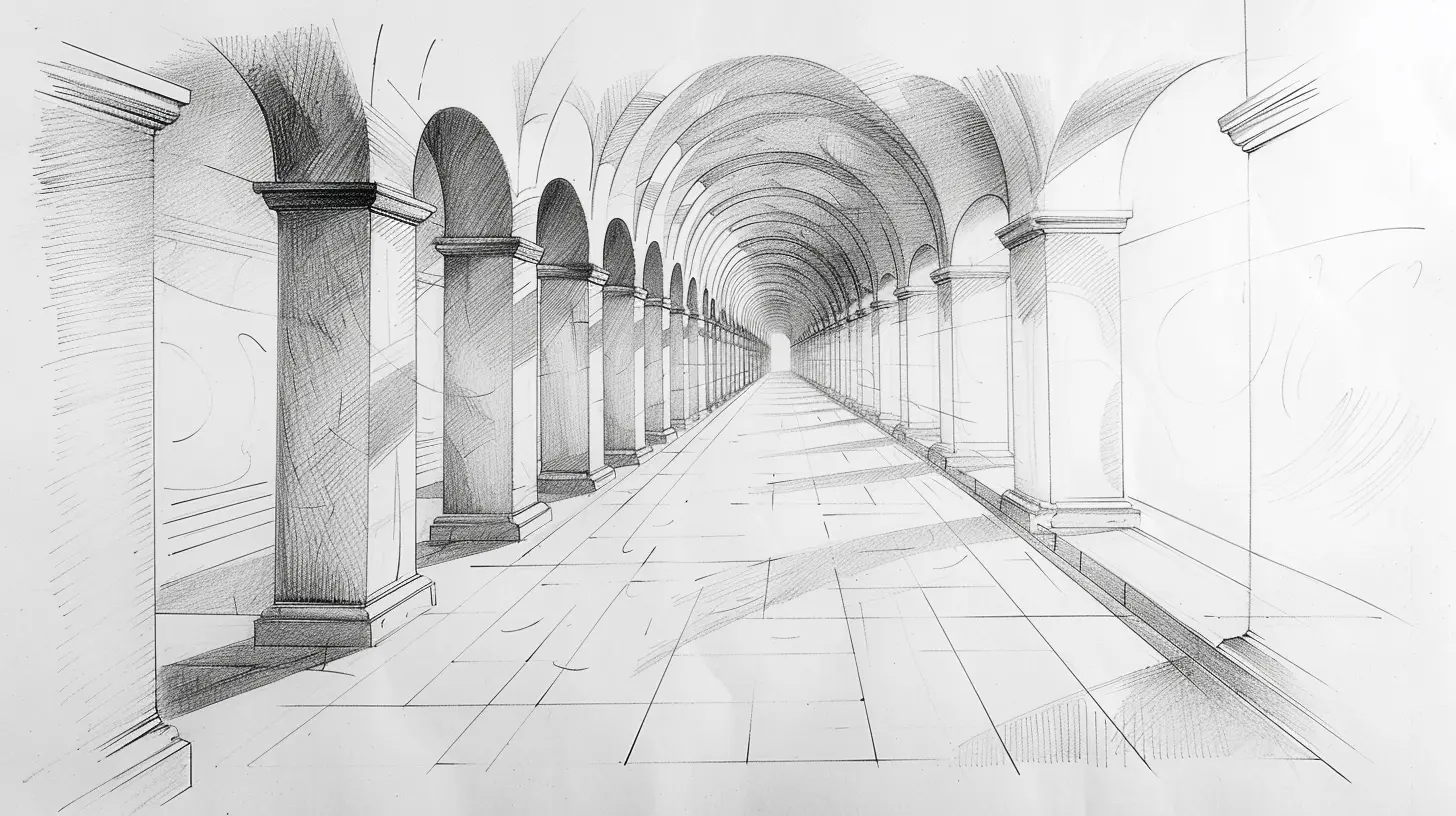
Step 1: Start with the Basics—What is a Horizon Line?
So, where do we begin? With the horizon line.Think of the horizon line as your stage's backdrop. It’s the viewer’s eye level and the anchor point for your entire drawing. In real life, the horizon is where the sky meets the ground. In art, it’s the line that tells your viewer where they’re looking from—up high, down low, or straight ahead.
Teaching Tip: Ask your students to look out a window or at a landscape photo. Get them to identify where the sky and land meet. That’s the horizon! Encourage them to draw a simple horizontal line across their paper—it’s their horizon line.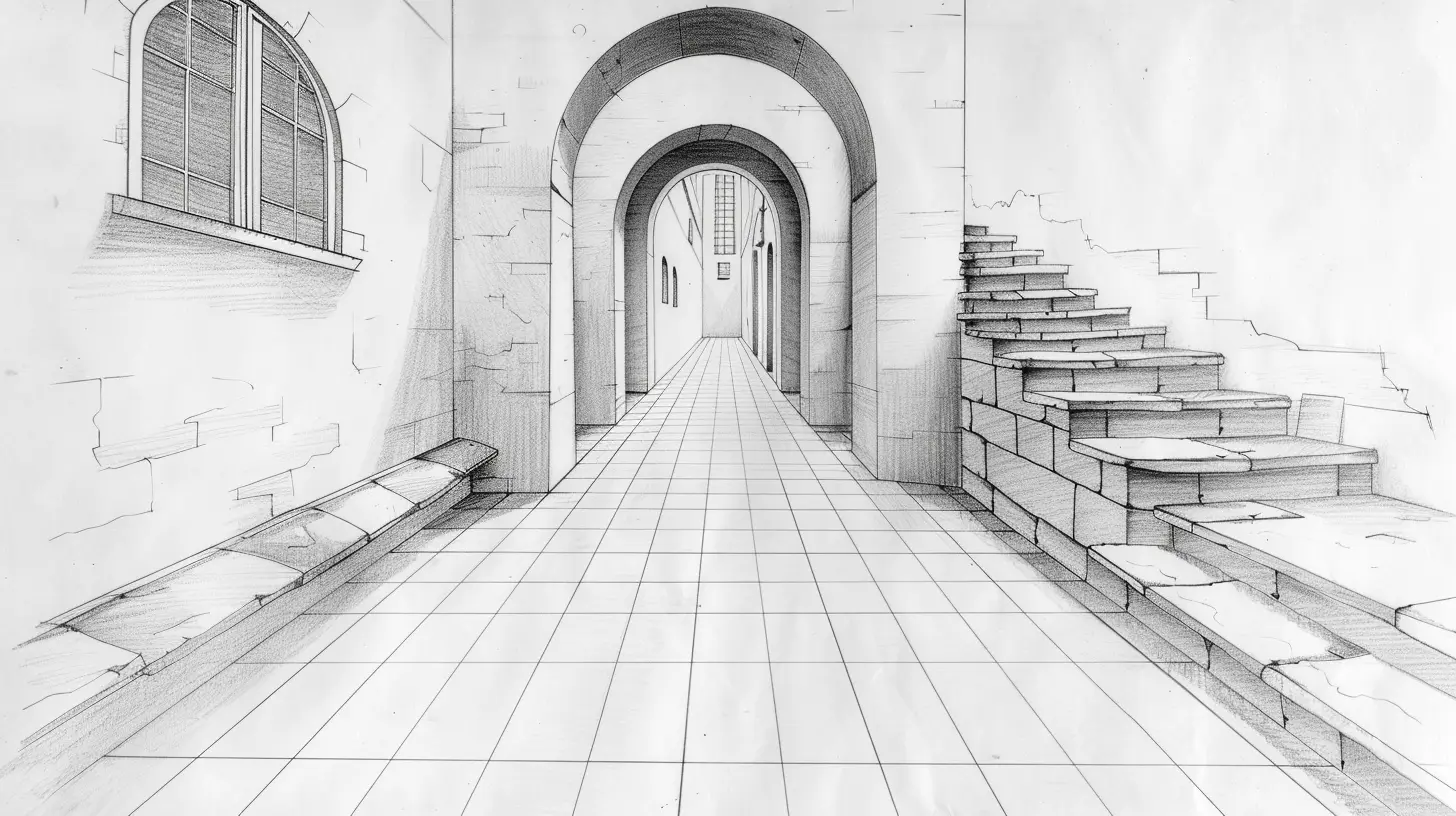
Step 2: Introduce the Vanishing Point
Next comes a little magic: the vanishing point. It’s where all parallel lines seem to meet in the distance.Want to draw a road, a row of houses, or a set of railroad tracks? They all vanish into that magical spot on the horizon line.
In one-point perspective, everything converges at a single vanishing point. Place it smack in the center of the horizon line, and you’re ready to start!
Example Exercise: Draw a square or rectangle in the middle of the paper, then connect each corner to the vanishing point with straight lines. You’ve just made a 3D box—congrats!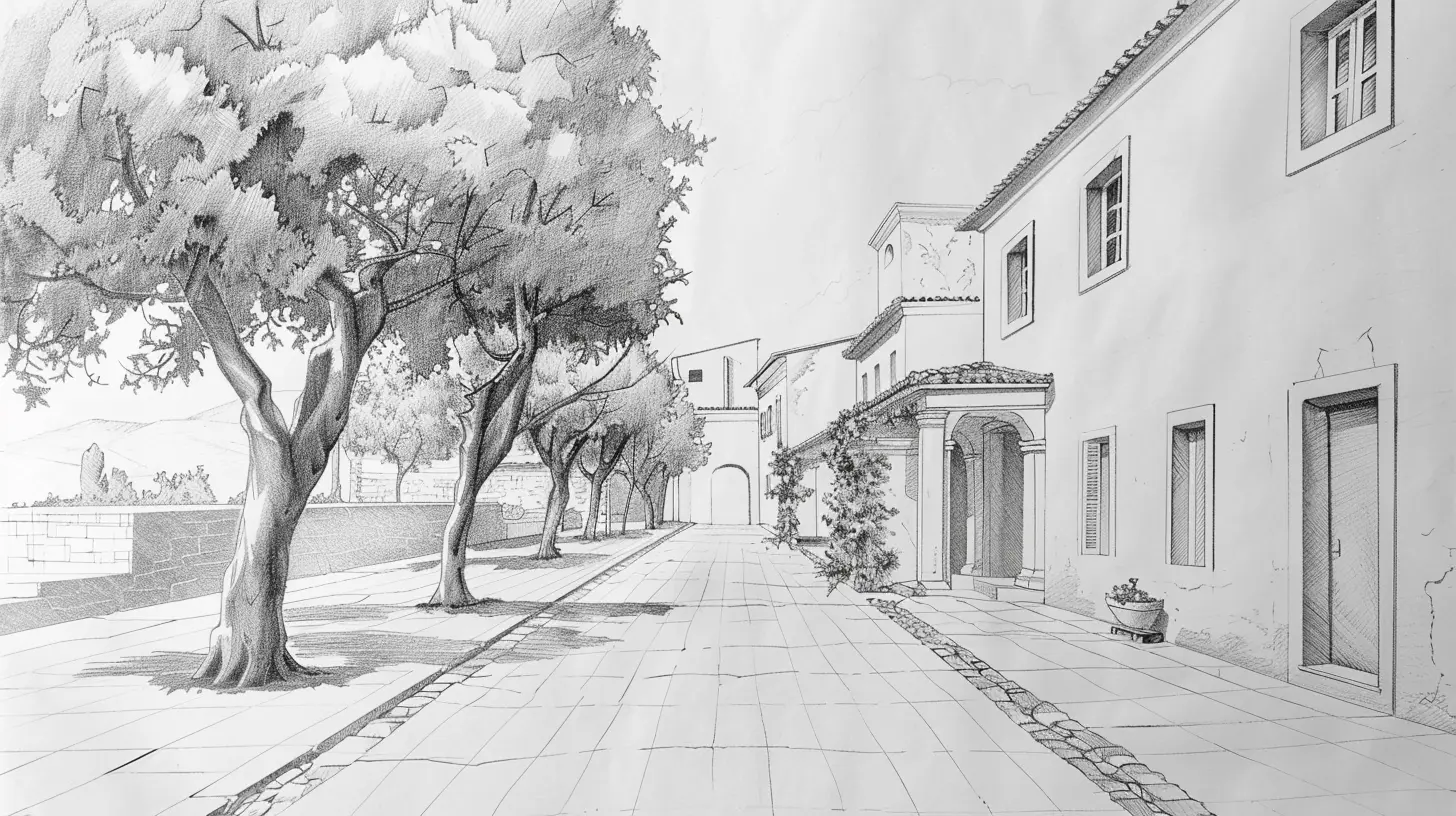
Step 3: Drawing Simple Shapes in One-Point Perspective
Time to put theory into practice.Start with 3D boxes, roads, and room interiors. These are perfect for beginners because they clearly show how lines recede into the distance.
Fun Activity: Have students draw the inside of a room using one-point perspective—a wall with a window, maybe a desk, a few books. It’s like peeking through a hidden camera in a dollhouse!
Pro Tip: Remind them that vertical and horizontal lines stay straight up and down or side to side unless they’re directly heading toward the vanishing point.
Step 4: Moving Up to Two-Point Perspective
Once your students have a good grip on one-point, notch it up to two-point perspective. This is great for showing buildings or street scenes viewed from a corner.In this method, you’ll place two vanishing points on the horizon line, usually far apart.
Why Two Points? Imagine standing on the corner of a block and looking at a building. The sides of the building angle away from you—each side heads toward a different vanishing point.
Activity Idea: Ask your students to draw a simple house or skyscraper in two-point perspective. They'll start with a vertical line for the building’s corner, then connect the top and bottom to both vanishing points.
This method teaches them depth and dimension—things start to feel real!
Step 5: Advanced Territory—Three-Point Perspective
Now we’re getting into superhero territory.Three-point perspective is used when looking up at a tall building or down from a high viewpoint. It includes a third vanishing point, usually located above or below the horizon line.
When to Use It: Think “bird’s-eye view” (looking down from above) or “worm’s-eye view” (looking up from below).
This step is more complex, so don’t rush. It’s ideal for older students or those who already understand one- and two-point perspectives.
Teaching Suggestion: Use dramatic photos of city skylines taken from the ground up, and let students analyze how the lines converge. Then, guide them through creating their own skyscraper scenes.
Step 6: Adding Detail and Texture
With the skeleton of your drawing done, it’s time to dress it up.Teach your students to add depth with details—windows, bricks, furniture, trees, shadows. But here’s the trick: All the details must follow the rules of perspective too!
Tips to Remember:
- Windows and doors should shrink as they recede into the distance.
- Shadows should align with the light source (you can even combine a bit of science here!)
- Vertical lines stay vertical—don’t let them slant unless it’s part of the perspective.
Encourage creativity. It’s amazing how a few well-placed textures make a drawing pop.
Step 7: Encouraging Practice Through Real-Life Observation
Want your students to really level up? Encourage them to observe perspective in real life.Here’s a fun homework idea: Have them take a photo of their street, a hallway, or a building on campus. Ask them to sketch it using proper perspective techniques.
They’ll begin to “see” like artists—spotting vanishing points, horizon lines, and angles in everyday life. That’s when things really click.
Step 8: Use Technology as a Teaching Tool
Don’t be afraid to bring tech into the mix!Apps like Procreate, Adobe Fresco, and even free tools like SketchBook allow students to experiment with perspective digitally. Many platforms include perspective grids you can toggle on or off.
Online videos and drawing simulators can also help visual learners grasp complex ideas more easily.
Bonus Tip: Consider creating a class Pinterest or Drive folder where students can upload their work and get peer feedback. It builds community and encourages collaborative learning.
Step 9: Making It Fun—Games and Challenges
Let’s face it: Drawing lines to vanishing points can get a bit dry. Spice things up with challenges!- Time Trials: Who can draw the most accurate box in 3 minutes?
- Themed Projects: Draw a haunted house in two-point perspective.
- What’s Wrong Here? Show a drawing with mistakes and have students fix them.
Gamification makes learning sticky—it keeps students coming back for more without feeling like they’re doing “work.”
Step 10: Keep Reiterating the Core Concepts
Perspective drawing is a skill that evolves through repetition. Don’t worry if students don’t nail it right away. Even professional artists revisit the basics often.Keep coming back to:
- Horizon Line
- Vanishing Points
- Converging Lines
- Relative Size and Spacing
Drill these into every lesson, and they’ll become second nature.
Common Mistakes (And How to Avoid Them)
Even experienced artists slip up sometimes. Here are a few common pitfalls and how to dodge them:1. Ignoring the Horizon Line
Always, always start here. No horizon line? Your perspective falls apart.2. Wobbly Guidelines
Use a ruler or a straight edge, especially at the start. Shaky lines confuse the eye.3. Random Vanishing Points
Make sure vanishing points are on the same level (unless it's three-point perspective). Random placement = chaos.4. Overcomplicating Too Fast
Master one-point perspective before moving on. Think of it as walking before running.5. Lack of Contrast and Texture
Add shadows, highlights, and detail to breathe life into your drawing. Perspective without shading can feel flat.Wrapping Up—Perspective is Power
Perspective drawing isn’t just about accuracy—it’s about giving your art a pulse. Once students learn how to control space and depth, they’re no longer just drawing objects—they’re building worlds.Whether you're coaching a first-timer or shaping a future architect, this step-by-step approach makes all the difference. Patience, practice, and a pinch of creativity go a long way.
And remember, every great artist once drew a wonky cube too.
all images in this post were generated using AI tools
Category:
Art EducationAuthor:

Olivia Lewis
Discussion
rate this article
3 comments
Bryson Long
Happy drawing! Your perspective skills will shine brightly!
June 18, 2025 at 10:49 AM
Olivia Lewis
Thank you! I appreciate your encouragement! Happy drawing to you too!
Riven Mason
This article on perspective drawing is fascinating! I'm eager to learn how the step-by-step approach simplifies such a complex topic. How do you engage students who struggle with spatial awareness, and what techniques have proven most effective in your experience?
June 14, 2025 at 7:30 AM
Olivia Lewis
Thank you for your enthusiasm! To engage students who struggle with spatial awareness, I use hands-on activities like drawing from observation, simple 3D models, and interactive software. Visual aids and consistent practice also help reinforce their understanding.
Elise Smith
This article provides a clear and structured approach to teaching perspective drawing, making it accessible for educators and students alike. The step-by-step method not only enhances artistic skills but also fosters spatial awareness and critical thinking, essential for any aspiring artist. Great insights!
June 11, 2025 at 11:45 AM
Olivia Lewis
Thank you for your thoughtful feedback! I'm glad you found the approach clear and beneficial for both educators and students.